The integration with Google Ads will enable you to connect with Google Ads via an API to automate the connection process and data delivery.
In this help article, we'll cover the steps on how to connect Google Ads:
Setup Google Ads Integration
The connection to Google Ads is completed during the integration setup process. Google Ads requires a separate connection for each advertiser account (think of each as a unique account number), so a separate integration must be created for each one.
If you have an advertiser in Bionic with sub-advertisers, only one Google Ads integration is needed for all of them, provided they all use the same Google Ads account.
- Go to your Administration section.
- Select the Integrations Tab.
- Click on the Add Integration Button.
- Select Google Ads.
- Press Next.
- Press Connect.
NOTE: Some authorization screens may reference Supermetrics, which powers the integration used by Bionic. - Follow the login prompt for Google Ads.
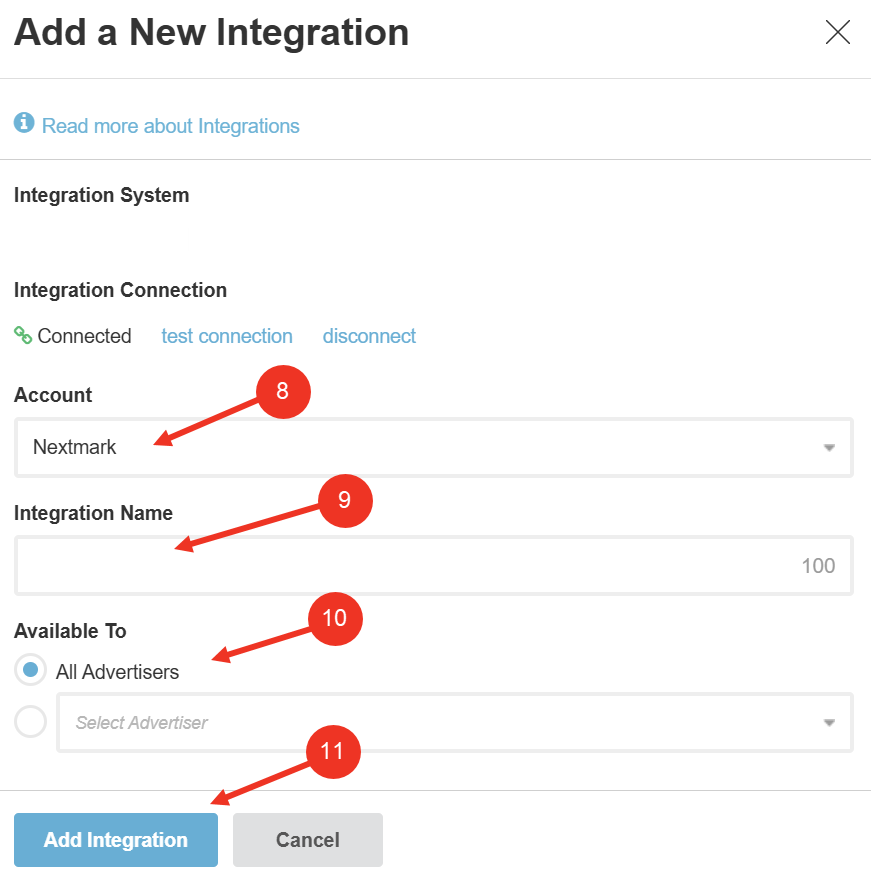
- Select the Advertiser Account to tie the connection with.
- Enter an Integration Name. (NOTE: This should be named clearly to define which advertiser account it is related to.)
- Select the appropriate Available To permission: Select All Advertisers if this integration will be used for more than one advertiser or Select a Specific Advertiser if ONLY THIS advertiser will use this integration.
- Press Add Integration.


Here is how data will map from Google Ads to Bionic:
| Google Ads Field | Bionic Field | Notes |
| Day |
Date |
Date of results |
| Campaign ID | Source Campaign ID | Used for mapping to Source ID |
| Campaign | -- | Used for mapping to Bionic Placement ID <BA:ID> |
| Cost | Net Media Cost | See Net Media Cost Actuals Based on Cost Method |
| Impressions | Impressions | |
| Clicks | Clicks | |
| Conversions | Conversions | |
| Total conv. value | Conversion Value | |
| Views | Views | |
| Store Visits | Store Visits | |
| Phone calls | Calls |