Learn in Bionic Academy: Integrate with Advantage
Bionic integrates with The Advantage Software Company to help streamline your finance team's workflow. With Bionic, you are able to export your Orders (Media Import Format) and Bills (Accounts Payable Format), allowing you to import orders and reconciled bills to Advantage.
In this article, we'll cover:
- Enable Advantage Integration
- Map Your Advantage Codes
- Export Orders to Advantage
- Export Bills to Advantage
Enable Advantage Integration
Here's how to enable Advantage integration in Bionic:
- Go to your Administration section.
- Select the Integrations Tab.
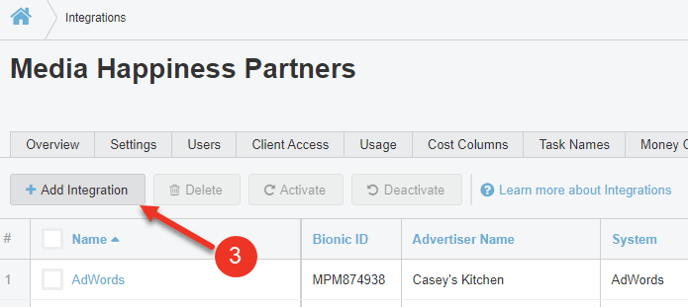
- Click on the Add Integration Button.
- Select Advantage.
- Press Next.
- Click Add Integration.


Map Your Advantage Codes
Prepare your export files by setting your Advantage codes in Bionic. Here's how to map your advantage codes in Bionic:
- Set Advertiser and Division Code on the Advertiser Level
- Set Product Code on the Campaign Level
- Set Vendor Code on the Vendor Level
- Set Advantage Sales Class Code on the Order Level
Set Advertiser and Division code on the Advertiser Level
The Advertiser and Division code will represent the Advantage codes established for this client and division. For these values, you will establish them once for each Advertiser and this data will be used for all campaigns under this advertiser.
- In an advertiser, click on the Settings Tab.
- Click on Metadata.
- Enter the relevant codes for the Advantage Advertiser Code and Advantage Division Code fields.

Set Product code on the Campaign Level
The Product code will represent the Advantage code established for this campaign. For this value, you will establish it once for this campaign and it will convey to the orders and bills exported from this campaign.
- In a campaign, click on the Settings Tab.
- Click on Metadata.
- Enter the relevant code for the Advantage Product Code field.

Set Vendor Code on the Vendor Level
The Vendor code will represent the Advantage code established for this vendor. For this value, you will establish it once for each Vendor and this data will be used for all campaigns that contain the vendor in the plan.
- In a vendor, click on the Settings Tab.
- Enter the relevant code for the Advantage Vendor Code field.

Set Advantage Sales Class Code on the Order Level
The Sales Class code will represent the Advantage code established for this order. For this value, you will establish it once for each order and this data will convey in the order/bill data as appropriate to the export.
- In an order, click on the Settings Tab.
- Click on Metadata.
- Enter the relevant code for the Advantage Sales Class Code field.

Export Orders to Advantage
Here's how to export orders to Advantage:
NOTE: In order to enable the option to Download the Advantage Media Import format, the Advantage integration must be selected at the Advertiser (or Campaign) level. Learn more here on how to set Advertiser default integrations: Set Advertiser Default Integrations.
- In the media plan, use the checkboxes to select specific lines and/or apply filtering (Optional). The export will respect the selection of specific lines and/or any applied filters.
- Click on Export found on the right side of a campaign.
- Select Advantage Media Import.
- Click Export.


NOTE: Once exported, you will then be able to go into Advantage and import the csv file.
Export Bills to Advantage
Here's how to export Bills to Advantage:
- From the homepage, click on the Finance Tab.
- Apply Filters (Optional). The export will respect any applied filters.
- Click on the Download dropdown caret.
- Click on Advantage Bills Export.

NOTE: Once exported, you will then be able to go into Advantage and import the csv file.