Learn in Bionic Academy: Manage Orders
Once you have orders created, you can access, review, and manage them from the Orders tab. You can access the Orders tab from your Home screen, any Advertiser, or from within a specific Campaign.
Here you will be able to monitor order statuses and summary of the financial amounts and statuses.
In this article, we'll cover how to:
Review Your Orders
The Orders tab will provide a complete list of orders, based on where you access it from. For example, from a campaign you will see all orders for that campaign. From an advertiser it will show all order for that advertiser. From the Home screen it will show all orders across your organization.
This view will show summarized data pertaining to who the the order relates to and the financials surrounding it.
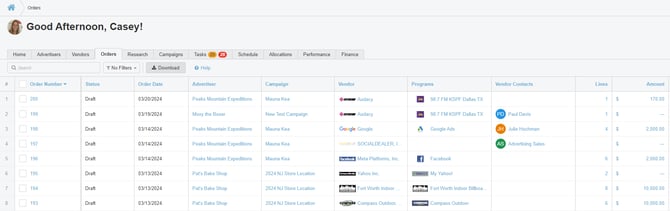
Here is an explanation of each column in the Orders Tab view:
Order Number - This is a Bionic generated order number. Clicking on the Order Number will open the Order in Edit mode.
Status - Reflects the order status based on internal approval and vendor acceptance.
- Draft - Order has been created and can be edited. It has not yet been approved to place.
- Approved - Order has been internally approved electronically to place.
- Approved Offline - Order has been internally approved to place, external from Bionic.
- Accepted - Order has been electronically accepted by the vendor.
- Accepted Offline - Order has been accepted by the vendor, external from Bionic.
- Rejected - Order has been Rejected electronically by the vendor.
Order Date - The date the order was created. Once approved, this date will update to reflect the date it was approved. This date can also be manually overwritten in the Settings of the order.
Advertiser - The advertiser the order is related to. This automatically populates based on the advertiser the campaign is part of and cannot be changed.
Campaign - The campaign is the order is related to. This automatically populates based on the campaign the order is part of and cannot be changed.
Vendor - The vendor (owner company, not the program/brand) the order is related to. This automatically populates based on the program(s) in the order and cannot be changed. If the vendor is incorrect, the program will need to be updated by Bionic Customer Support and a new order will need to be created.
NOTE: Once an Order is created, the Vendor cannot be changed. If for any reason, the vendor you're working with is updated, existing orders won't automatically reflect this change. To ensure the correct vendor is displayed, you'll need to delete the previous order and create a new one.
Programs - The program (brand/platform/station) the order is related to. If more than one, all programs will be listed. If the program(s) is/are incorrect, the order will need to be deleted and a new order created.
Vendor Contacts - The ad sales contacts that you will be sending this order to. If these are incorrect, you can edit them in the Order -> Recipients tab.
Lines - The number of placement lines included in the order.
Amount - The net media cost included in this order based on the placement that have been included in it.
Approved - The cost that has been approved to spend in this order. When approved, this will reflect the net media cost included in the order.
Fulfilled - The amount spent to date. This amount will derive from either a) performance data loaded into Bionic b) actual spend manually entered into the Net Media Cost section of the media plan.
Billed - The sum of the amounts entered in the Bill Amount field for each bill related to this order.
Reconciled - The sum of the amounts entered in the Reconciled field for each bill related to this order.
Balance - The sum of the balance due, based on the difference between the Reconciled Amount and the Paid Amount.
Paid - The sum of payments applied towards the bills in this order.
Bionic ID - The unique Bionic identifier for this order.
Custom Meta Fields - Any custom fields related to the order will display with the respective values that were identified in the Settings ->Metadata.
Created - The day/time the order was created.
Created by - Who created this order.
Last Updated - The day/time the order was last updated.
Last Updated By - Who last updated this order.
Search For Orders
Based on where you access the Orders tab (Home page, Advertiser, Campaign), it will automatically limit which orders are presented. The Home page Orders tab will provide ALL orders.
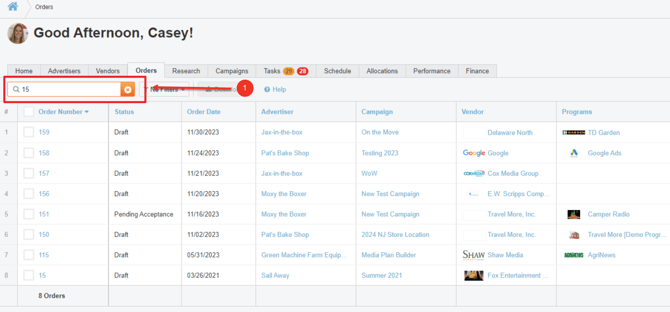
There are a couple of ways to find orders you are looking for. You can (1) use the search bar or (2) the filters provided.
Search by Order Number
Here is how to search by Order Number:
- To search by order number, enter the Order Number in the search box.
NOTE: To remove the search, press the 'X' or delete the order number from the search box.
Filter Options
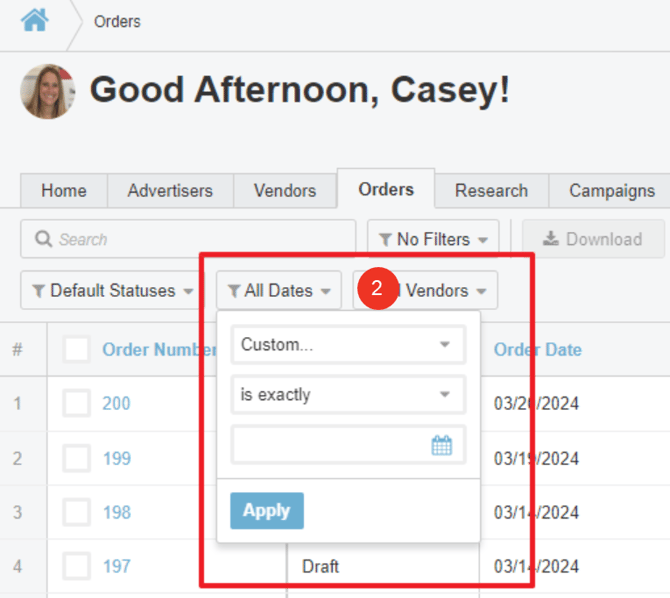
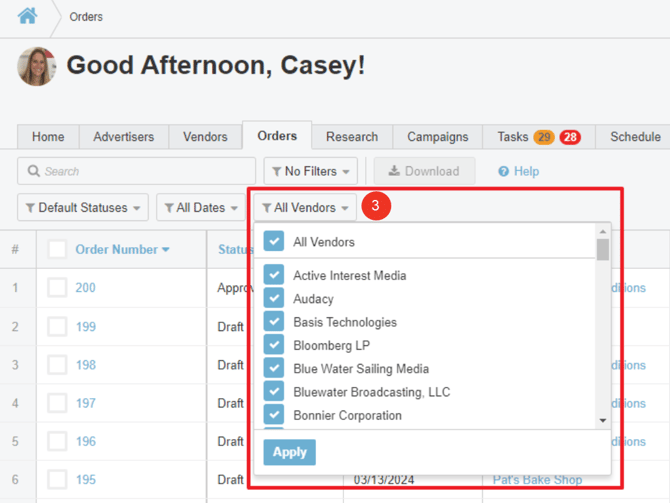
You can also use the various filters listed to limit the orders being presented:
- Status - Select or remove the order status(es) to limit the set of orders being presented.
- Dates - Select the Order Date rule to limit the set of orders based on the order date.
- Vendors - Select the Vendor(s) to limit the orders presented.

TIP: If you appear to have a filter on and no orders are displaying when they should be, use the 'Clear All Filters' button located in the center of the page.
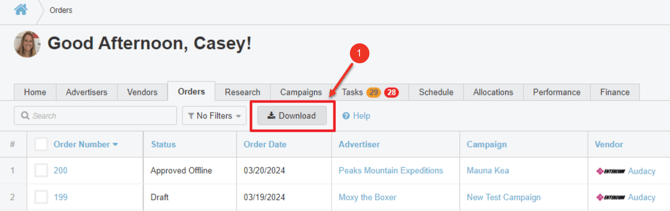
Download Your Orders
You can download the order view into Excel. It will display the data based on the filters/search you have applied.
- Press the Download button to export the view to Excel.
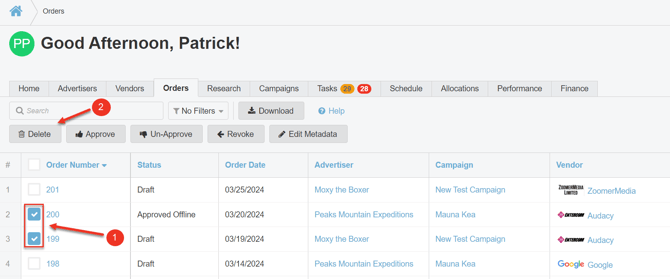
Delete Your Orders
Orders can be deleted as part of a batch function. Use the filtering above to limit your view as desired. Here's how to delete order(s):
NOTE: Only orders in Draft status can be deleted.
- Select the checkbox next to the Orders you want to delete or use the checkbox in the header to select all orders in the view.
- Press the Delete button.
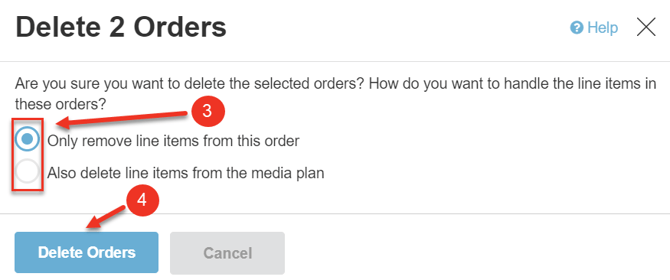
- Select the appropriate Delete Rule related to the line items:
- Only remove line items from this order - This option will delete the order and contents, but will keep the line items in the media plan. This is the standard option for most situations.
- Also delete line items from the media plan - This option will delete the line items from the media plan.
- Press Delete Orders.
Next Steps