Programs Settings enable you to add or change general information about your advertising program.
There are 4 sections under the Settings tab:
Each of these sections is described in detail below.
Tip: Completing as much data as possible will improve your Quality Score and make your program listing more helpful and appealing to media planners.
Edit Basic Info
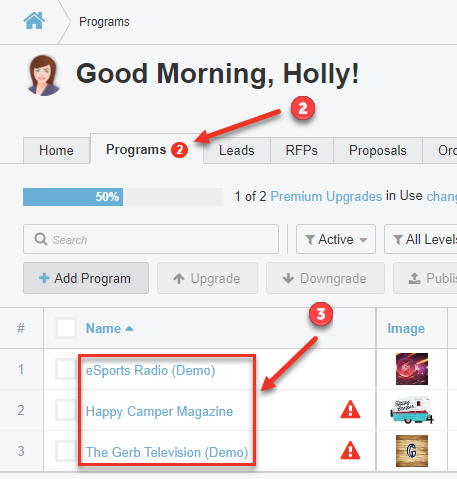
- Log into Bionic for Ad Sales
- Click on the Programs tab
- Select the program you wish to edit
- Go to the Settings tab
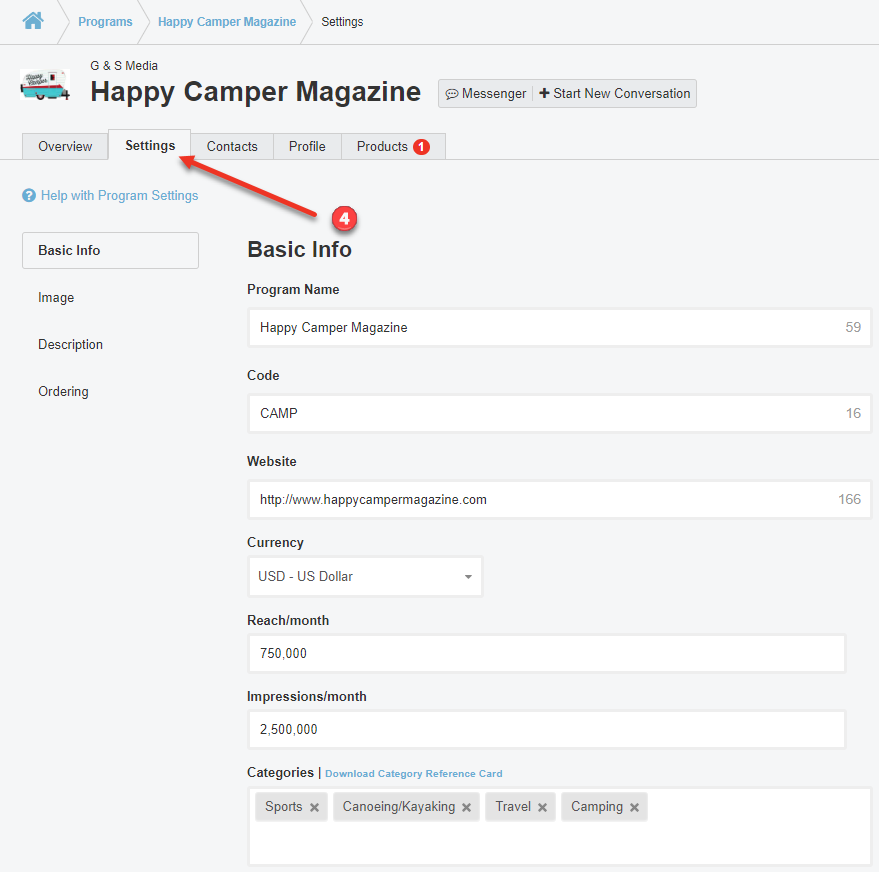
Program Name - Typically, this will be the brand name associated with the advertising program. Here are some recommended naming conventions you can use to help media planners recognize your program at a glance:
- Brand or publication: Facebook, Men's Health (include country if primary focus is to a specific country outside of the US)
- Local publications: Almanac Weekly Kingston NY (include town & state / country for clarity)
- TV Station: WATE TV Knoxville TN (include town & state / country for clarity)
- Radio Station: 100.1 FM KJBI Pierre SD (include town & state / country for clarity)
Website - Enter the URL of the website representing the brand.
Currency - Select the currency that rates will be represented in.
Note: Currencies can be changed in proposals you submit, or media plans that planners build, as appropriate.
Reach/month - Enter the typical Reach per month. You can update on a monthly basis if desired.
Impressions/month - Enter the typical Impressions per month. You can update on a monthly basis if desired.
Attachments - Upload any supplemental attachments that may be helpful to media planners, such as your media kit.
Upload an Image
It is recommended that you upload an image to represent this brand. This will typically be the brand/station logo or a publication cover.
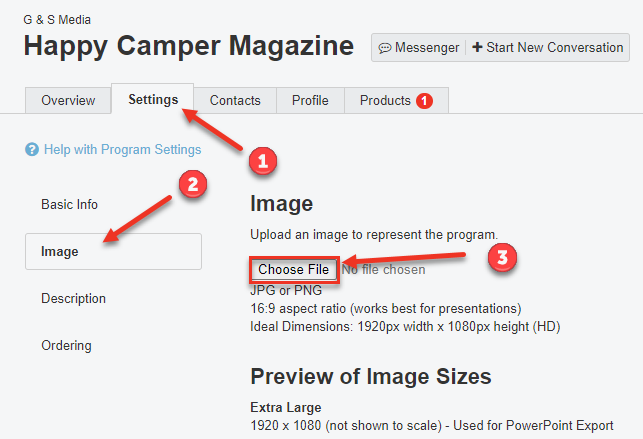
To add an image:
- Go to the Settings tab in a Program
- Click the Image button on the left
- Press the Choose File button.
- Select the appropriate file to upload. Once complete, your image will show on screen.
To remove an existing image, press the Remove Image button.
You can then repeat the Choose File process to replace with a new image.
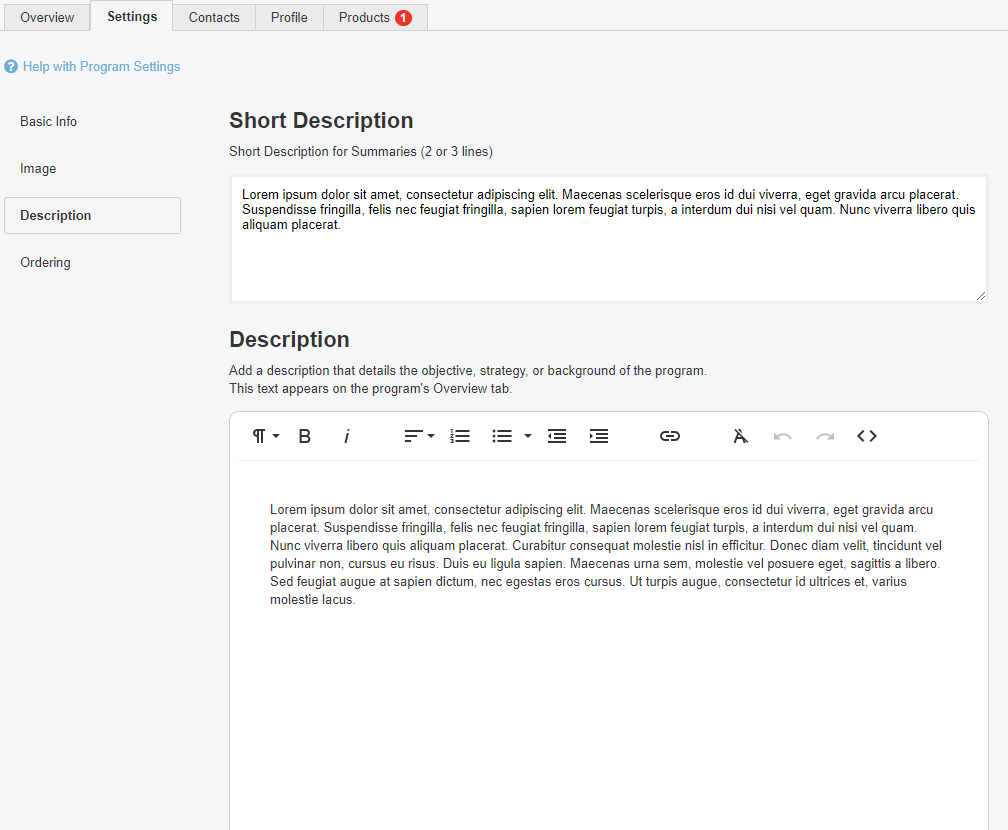
Edit a Program's Description
There are 2 description fields in a Program's settings. The first is a quick summary used more as a preview. The second description is your detailed description. Media planners will use this description to better understand what you are all about and how it may relate to their desired audience.
Tip: Descriptions used in your "About" section or Media Kit are a good place to start.
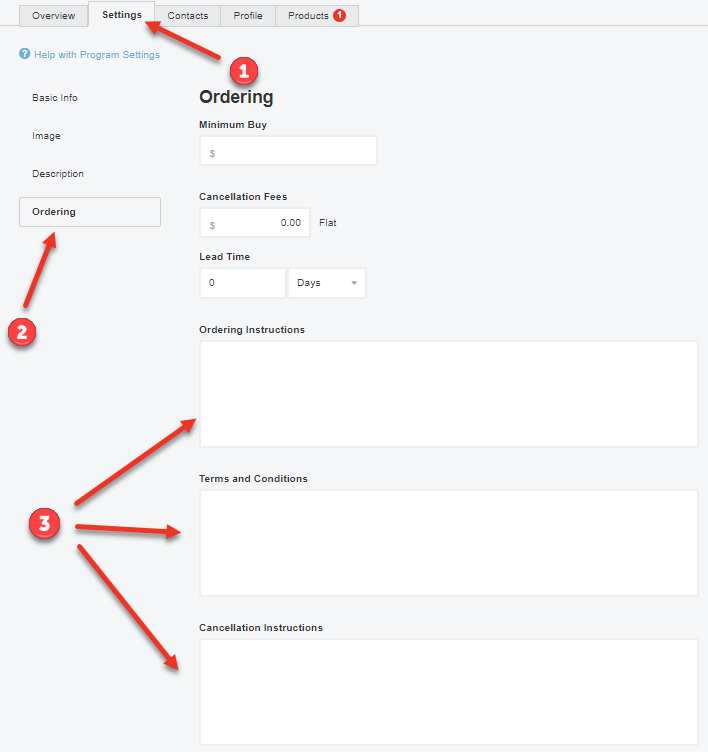
Edit Order Information
- Go to the Settings tab in a Program
- Click on Ordering on the left
- Add any pertinent ordering instructions you wish to share with media planners.